Ingredients
Instructions
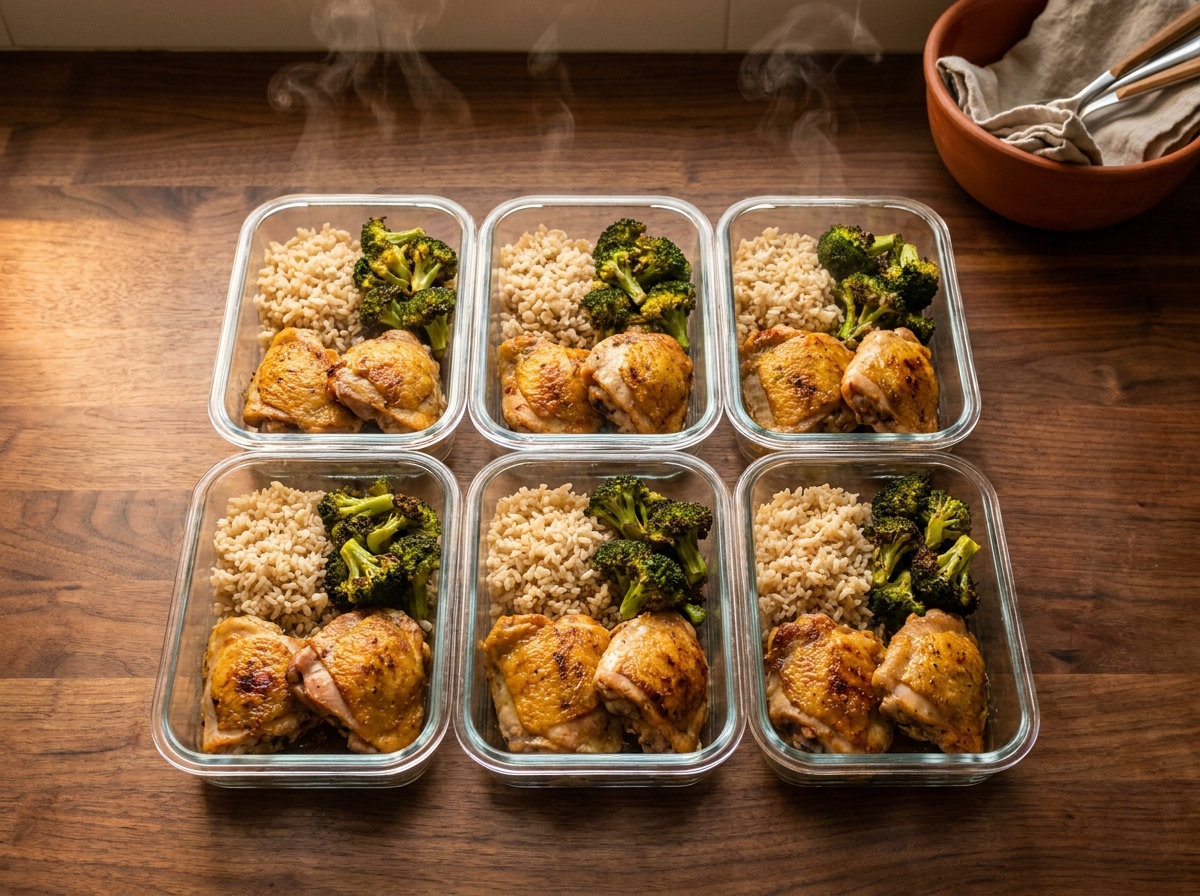
This high protein chicken rice bowl hits 42g protein per serving at $1.80 — and it's the recipe I've made more than any other in 9 years of weekly meal prep. Not because it's exciting, but because it works every single time, reheats without turning rubbery, and takes exactly 35 minutes of active cooking for 5 complete lunches. That's a hard combination to beat.
The key difference from a mediocre chicken bowl recipe is three things: bone-in thighs instead of breast, a wire rack for air circulation during roasting, and pulling the chicken at 162°F (72°C) instead of 165°F (74°C). Those three details mean the difference between chicken you're excited to eat on Thursday and chicken you're tolerating.

Why Chicken Thighs Beat Breast for Meal Prep Bowls
Chicken breast has 3g of fat per 3.5oz. Chicken thighs have 9g. That fat content is exactly why thighs stay moist through 4 days of refrigeration and reheating. Fat slows moisture evaporation during storage and lubricates the muscle fibers when you reheat. Breast has no such buffer — it goes from moist to dry somewhere between reheating cycle 2 and 3.
The protein difference is minimal: breast gives you 31g per 3.5oz vs thigh's 26g. But thighs cost $2.49/lb vs breast at $3.99-4.49/lb in most 2026 US markets. You get 84% of the protein at 55-62% of the cost, with four times better reheat quality. For meal prep specifically, this isn't a close call.
Ingredients (Makes 5 Servings)
| Ingredient | Amount | Notes |
|---|---|---|
| Bone-in chicken thighs | 2.5 lbs (4-5 thighs) | Skin-on preferred |
| Jasmine rice (dry) | 1.5 cups | Or long-grain white rice |
| Broccoli florets | 4 cups (about 2 heads) | Cut into similar-sized pieces |
| Olive oil | 2 tbsp | Divided |
| Garlic powder | 1.5 tsp | Divided |
| Smoked paprika | 1 tsp | For chicken only |
| Salt | 2 tsp total | Divided across chicken, rice, broccoli |
| Black pepper | 1 tsp | For chicken |
| Lemon (optional) | 1 medium | Zest over chicken before roasting |
| Soy sauce or coconut aminos | 3 tbsp | For drizzle at serving |
Step-by-Step Method
- Preheat oven to 400°F (204°C). Line a large sheet pan with foil and place a wire rack on top. The wire rack is not optional — it lets hot air circulate under the chicken so the underside roasts instead of steams. Without it you get pale, soft-bottomed chicken that doesn't hold texture well after refrigeration.
- Pat chicken completely dry with paper towels — both sides, including under any loose skin. This is the most skipped step and the one that matters most for browning. Moisture on the surface steams the chicken instead of roasting it. Dry chicken = browning. Wet chicken = grey, steamed skin with no texture.
- Mix 1 tbsp olive oil, 1.5 tsp salt, 1 tsp garlic powder, 1 tsp smoked paprika, and 1 tsp black pepper in a small bowl. Rub this over every surface of the chicken. Get under the skin where possible — seasoning under the skin penetrates the meat, not just the skin that you may remove later. Add lemon zest over the top if using.
- Place chicken skin-side up on the wire rack. Into the oven for 35-38 minutes (boneless) or 40-45 minutes (bone-in). Don't open the oven in the first 25 minutes — temperature drops slow the Maillard browning reaction. You want consistent high heat throughout.
- Start rice at the 10-minute mark. 1.5 cups jasmine rice + 2.25 cups cold water + ¼ tsp salt in a medium saucepan. Bring to a boil over high heat, stir once, reduce to the lowest possible simmer, cover tightly. Timer: 18 minutes. Do not lift the lid. The steam is doing the work.
- At the 20-minute mark, toss broccoli florets with 1 tbsp olive oil, ½ tsp salt, ½ tsp garlic powder. Spread in a single layer on a second foil-lined sheet pan — no crowding, or it steams instead of roasts. Slide into oven alongside chicken. Broccoli takes 18-20 minutes at 400°F — it finishes when the chicken does.
- Pull rice off heat at 18 minutes. Leave covered for 5 minutes — do not open. The residual steam finishes the cooking. After 5 minutes, fluff with a fork and spread across a baking sheet to cool faster if needed.
- Check chicken internal temperature at 38 minutes using an instant-read thermometer inserted into the thickest part without touching bone. Pull at 162°F (72°C). Rest on the rack for 8 minutes — carryover cooking brings it to the USDA-safe 165°F (74°C). Cutting immediately loses 30-40% of the juices to the cutting board.
Portioning and Storage
Let everything cool on the counter for 20 minutes before portioning. Hot food in sealed containers creates condensation — that's the moisture that makes your rice mushy and your broccoli limp by day 2.
Standard portion per container: 1 chicken thigh (debone if desired, ~4oz meat), ¾ cup cooked rice, 1 heaping cup broccoli. Keep the soy sauce in a small separate container or drizzle it on just before eating — rice absorbs sauce quickly and can become too salty after 2 days.
| Storage Method | Duration | Temperature |
|---|---|---|
| Refrigerator | 3-4 days | 40°F (4°C) or below — USDA FoodKeeper |
| Freezer | 2-6 months (chicken), 6 months (rice) | 0°F (-18°C) or below |
Nutrition Per Serving
| Nutrient | Amount | Notes |
|---|---|---|
| Calories | ~420 | With skin; ~380 without |
| Protein | 42g | Bone-in thigh 4oz + broccoli contribution |
| Carbohydrates | 36g | Primarily from jasmine rice |
| Fat | 12g | With skin; ~8g without |
| Fiber | 4g | Broccoli contribution |
| Cost per serving | $1.80 | Based on 2026 US grocery prices |
Variations to Prevent Boredom
This same base recipe works with 5 different flavor profiles by changing only the seasoning and sauce. Same cooking method, same timing, completely different taste:
Teriyaki: Replace paprika with ginger powder. Drizzle with 2 tbsp soy sauce + 1 tbsp honey mixed at serving.
Mediterranean: Add 1 tsp dried oregano and ½ tsp cumin to the rub. Serve with tzatziki (plain Greek yogurt + lemon + dill) instead of soy sauce.
Chipotle lime: Replace paprika with chipotle powder. Add lime zest to rub. Drizzle with hot sauce at serving.
Lemon herb: Add 1 tsp dried thyme and lemon zest to rub. Squeeze fresh lemon over before sealing containers.
Same grocery bill, same 90-minute Sunday session, four completely different eating experiences across the week. That's the version of high protein meal prep that actually sticks long-term.
Frequently Asked Questions
Can I use chicken breast instead of thighs for this bowl?
You can, but expect different results. Chicken breast dries out faster during refrigeration — it's best through day 2 and borderline by day 4. If you prefer breast, reduce oven time to 22-25 minutes at 400°F (204°C) and pull at 160°F (71°C) — it carryover cooks to 165°F (74°C) faster than thighs. Brining for 30 minutes in salted water before cooking (1 tbsp salt per cup of water) significantly improves moisture retention in breast meat for meal prep.
How do I reheat this bowl without drying out the chicken?
Microwave at 70% power, not full power, for 90-120 seconds. Add 1 tablespoon of water to the container before sealing for reheating — the steam keeps the chicken moist. Alternatively, reheat in a pan over medium heat with a splash of water and a lid for 3-4 minutes. Never microwave chicken at full power — it drives moisture out of the muscle fibers faster than low power and creates the rubbery texture people associate with meal prep chicken.
Can I substitute the jasmine rice with a lower-carb option?
Yes. Cauliflower rice (steam 4 minutes, drain well before portioning) drops carbs from 36g to 8g per serving and keeps the bowl format intact. Quinoa is another option — it adds 4g extra protein per serving (8g per ¾ cup vs rice's 4g) with a similar cooking time. Both hold well for 4 days refrigerated. Brown rice is a valid swap but adds 10 minutes to cook time and has a slightly denser texture when reheated cold.
What sauce works best for meal prep chicken rice bowls?
Store-bought sauces stored separately are most reliable. Soy sauce and rice vinegar mixed 2:1 is the simplest and lasts indefinitely. Tahini thinned with lemon juice holds for 7 days in the fridge and adds 2g protein per tablespoon. Avoid cream-based sauces mixed into the bowl — they separate during storage and make everything watery by day 2. Drizzle sauce at eating time, not at portioning time, for every sauce except dry spice rubs.

Is this bowl good for weight loss?
At 420 calories and 42g protein, this bowl creates a high satiety-to-calorie ratio — the protein and fiber keep most people full for 4-5 hours, which reduces snacking. For weight loss, remove the skin before portioning (saves 40-50 calories and 4g fat) and reduce rice to ½ cup instead of ¾ cup (saves 80 calories). That brings the bowl to ~290 calories with 38g protein — an excellent deficit-phase lunch. Pair with a Greek yogurt snack for a 490-calorie, 55g protein midday block.
At $1.80/serving and 35 minutes of prep for 5 complete meals, this is the bowl that makes the Sunday session worth it. Make it once, adjust the seasoning the second time, and by week 3 it's on autopilot.
